Hey there! I'm a supplier of 12V Starter-Delco PMDD. Over the years, I've dealt with numerous customers having issues with their starters, and a common problem is related to the solenoid operation. In this blog, I'll walk you through how to check the solenoid operation in a 12V Starter - Delco PMDD.
What's a Solenoid in a Starter?
Before we jump into the checking process, let's quickly understand what a solenoid does. The solenoid in a 12V Starter - Delco PMDD is like a little power - switcher. It's an electromagnet that, when activated, does two main jobs. First, it moves the starter's pinion gear so that it meshes with the engine's flywheel. Second, it closes a set of contacts to send power from the battery to the starter motor. Without a properly working solenoid, your starter won't engage, and your engine won't start.
Tools You'll Need
To check the solenoid operation, you'll need a few basic tools. You'll need a multimeter, which is super handy for measuring voltage, resistance, and continuity. A pair of jumper wires is also essential, and you might want to have a battery charger on standby just in case your battery is low. And of course, don't forget some safety gear like gloves and safety glasses.

Step 1: Safety First
Before you start working on your 12V Starter - Delco PMDD, make sure you disconnect the negative terminal of your battery. This will prevent any electrical shocks or short - circuits while you're checking the solenoid. You don't want to get zapped!
Step 2: Locate the Solenoid
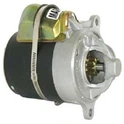
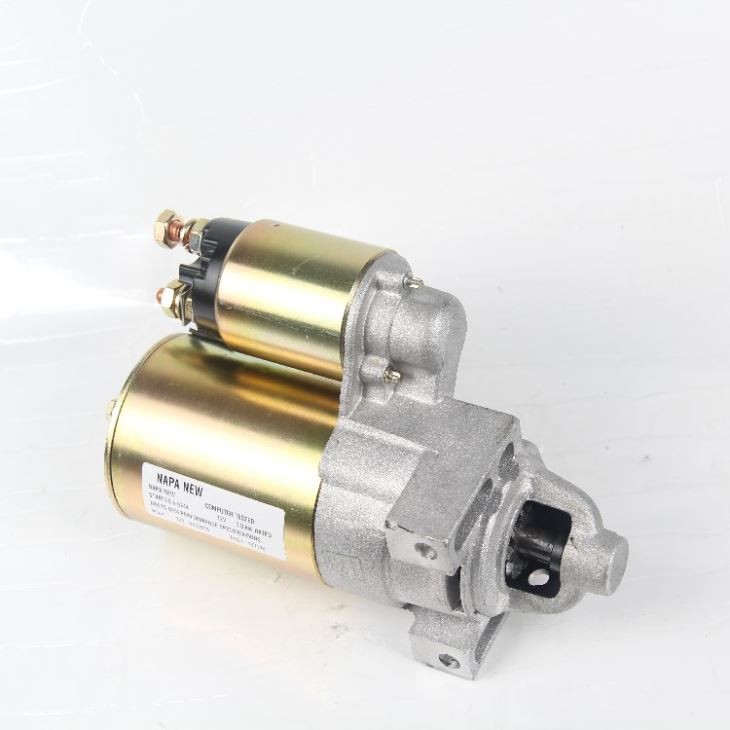
The solenoid is usually mounted on the side of the starter. In a 12V Starter - Delco PMDD, it's a relatively small, cylindrical component with wires attached to it. There are typically two large terminals and one or more small terminals. The large terminals are for the high - current connection between the battery and the starter motor, while the small terminals are for the control circuit.
Step 3: Check the Battery
Using your multimeter, set it to the DC voltage setting. Place the probes on the battery terminals. A fully charged 12V battery should read around 12.6 volts. If the voltage is significantly lower, you might have a battery problem rather than a solenoid issue. Charge the battery if needed and recheck the voltage.
Step 4: Check for Continuity in the Control Circuit
Set your multimeter to the continuity setting. Connect one probe to the small terminal on the solenoid that is connected to the ignition switch. The other probe should be connected to a good ground, like the negative battery terminal. When you turn the ignition key to the start position, you should hear a beep on the multimeter, indicating continuity. If there's no beep, there could be a problem with the wiring or the ignition switch.
Step 5: Check the Solenoid's Pull - In and Hold - In Coils
The solenoid has two coils: the pull - in coil and the hold - in coil. To check these coils, you'll need to use your jumper wires. First, connect one end of a jumper wire to the positive battery terminal. Connect the other end of this wire to one of the large terminals on the solenoid. Then, take another jumper wire and connect it to the small terminal on the solenoid that is connected to the ignition switch. Touch the other end of this wire to the positive battery terminal.
When you do this, you should hear a click sound from the solenoid as it engages. This means that the pull - in and hold - in coils are working. If there's no click, the coils might be damaged. You can also use your multimeter to check the resistance of the coils. The resistance values should be within the manufacturer's specifications.
Step 6: Check the Solenoid Contacts
The solenoid contacts are what allow the high - current flow from the battery to the starter motor. To check these contacts, you can use your multimeter set to the resistance setting. Disconnect the wires from the large terminals on the solenoid. Place the multimeter probes on the large terminals. When the solenoid is not engaged, the resistance should be infinite. When you activate the solenoid using the jumper wires as described in Step 5, the resistance should drop to near zero, indicating that the contacts are closing properly.
Step 7: Reconnect and Test
Once you've completed all the checks and everything seems to be in order, reconnect the battery terminal. Try starting your engine. If the starter engages and the engine starts, then your solenoid is working fine. If not, you might need to replace the solenoid or further troubleshoot other components of the starter system.
Why Choose Our 12V Starter - Delco PMDD?
As a supplier of 12V Starter - Delco PMDD, I can tell you that our products are top - notch. We use high - quality materials in the manufacturing process, which ensures long - lasting performance. Our starters, including the 10 - tooth Pinion Starter - Delco PMDD, are designed to be reliable and efficient. And if you ever have any issues with the solenoid or any other part of the starter, our customer support team is always ready to assist you.
Conclusion
Checking the solenoid operation in a 12V Starter - Delco PMDD is not as complicated as it might seem. By following these steps, you can quickly diagnose any problems with the solenoid. And if you're in the market for a new starter, don't hesitate to reach out. We're here to help you get the best - performing starter for your vehicle. Whether you're a DIY enthusiast or a professional mechanic, our products and support will ensure that your engine starts smoothly every time.
If you're interested in purchasing our 12V Starter - Delco PMDD or have any questions about solenoid operation or our products, feel free to contact us for a friendly chat and a great deal.
References
- Automotive Electrical Systems Handbook
- Delco Starter Manuals